A short and sweet post explaining how to create a GitHub Workflow to automatically backup a Sanity dataset on a regular interval.
First, let’s create a .github/workflows/backup.yml file in our repository. This will contain the instructions for GitHub to perform our backup.
Let’s say we want to run our backup every 5 days. This is doable with a cron job, which is essentially a Unix term for “scheduler”. The cron syntax is notoriously obscure, so I recommend using a tool such as crontab guru to assist. We eventually land on this expression: 0 10 */5 * *, which the aforementioned tool translates into:
At 10:00 on every 5th day-of-month.
name: Sanity backup
on:
  schedule:
    - cron: '0 10 */5 * *'
Now that we named our workflow and defined when it runs, we need to write some steps. Here is what we want to do:
- Clone our repository.
- Perform the backup of our project.
- Upload the resulting asset to GitHub.
Cloning a repository is done with the official checkout GitHub action. The default options should be enough for us.
jobs:
  build:
    runs-on: ubuntu-latest
    steps:
      - uses: actions/checkout@v2
Performing the backup is certainly the most complicated step of our workflow. We need to use the Sanity command line tool to perform an export of our dataset with its name (here production). You’ll note we specify the directory for our studio — here studio — as we need to execute that command within the context of a Sanity project.
We also need to pass 2 environments variables:
- The Sanity project ID as
SANITY_STUDIO_API_PROJECT_ID. It can be found in the settings and is not private or sensitive, so we can safely inline it in our code. - A Sanity read token as
SANITY_AUTH_TOKENto have sufficient permissions for the backup. This secret needs to be defined as a GitHub secret (although the name can be changed).
- run: npx @sanity/cli dataset export production backup.tar.gz
  working-directory: studio
  env:
    SANITY_STUDIO_API_PROJECT_ID: theProjectId
    SANITY_AUTH_TOKEN: ${{ secrets.SANITY_BACKUP_TOKEN }}
Finally, we want to upload the resulting tarball to GitHub. This can be done with the official upload-artifact action. We need to give it a name (for the interface), the path to our file, and for how long we want to store it.
- uses: actions/upload-artifact@v2
with:
name: production
path: studio/backup.tar.gz
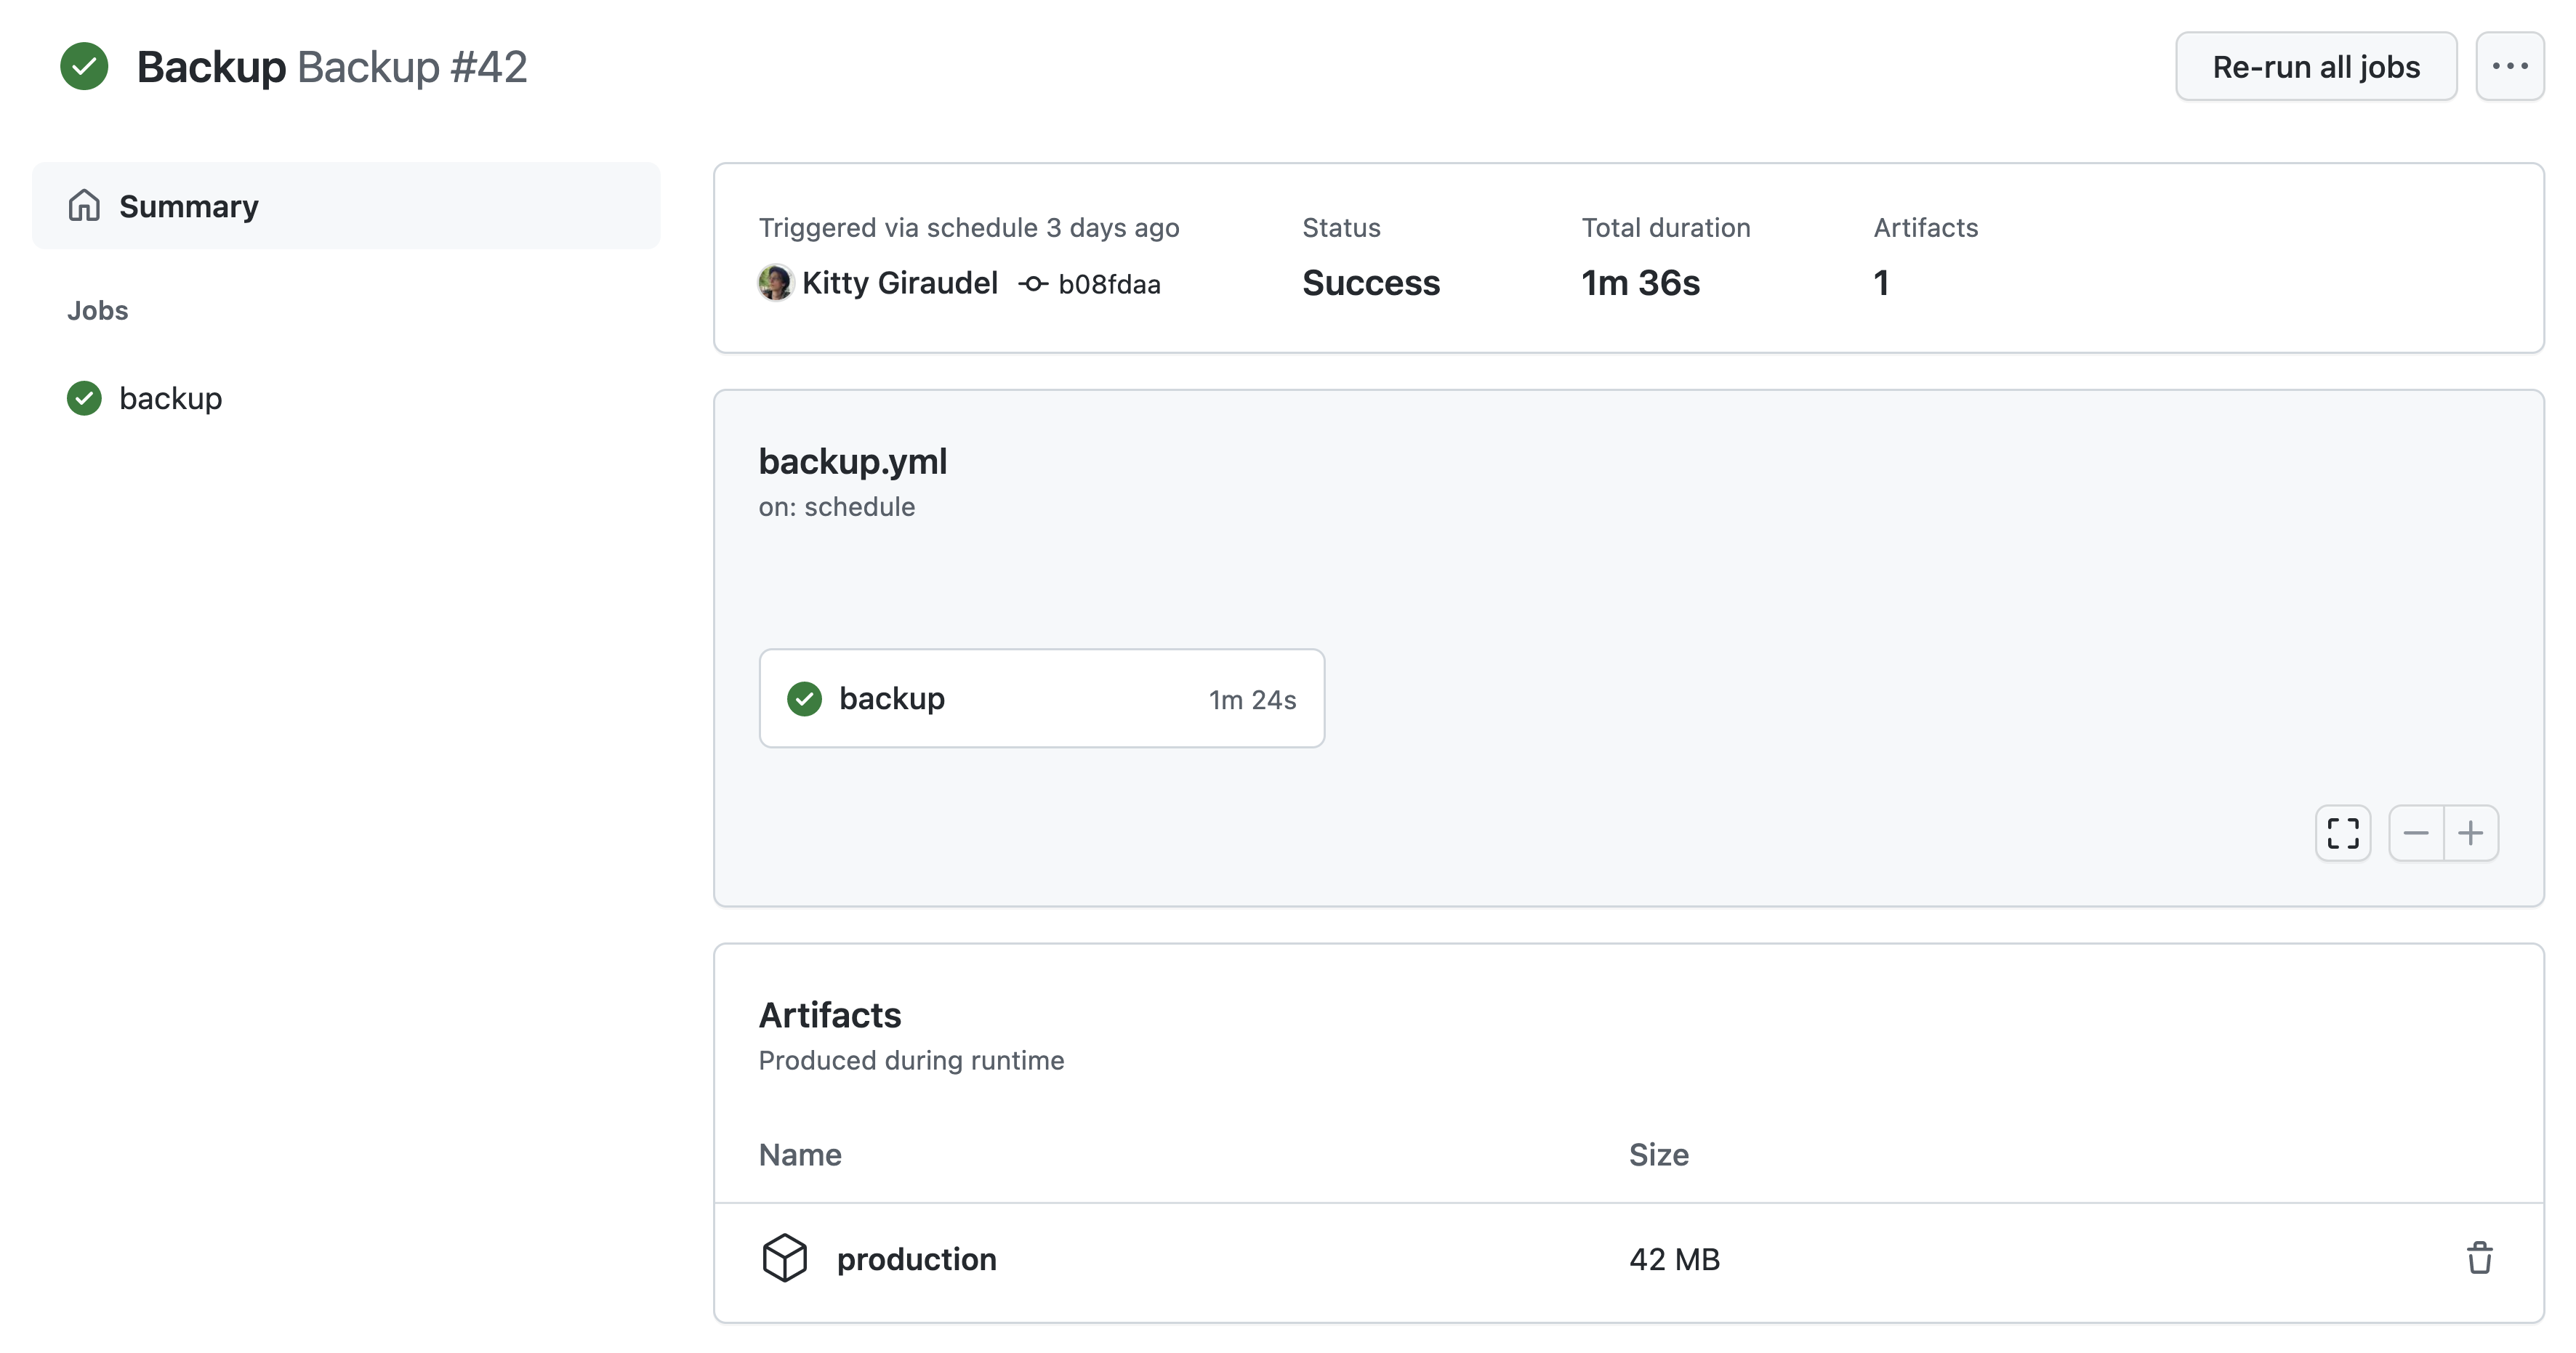
retention-days: 5That’s it really. From there, you can download your backup from the action interface itself, directly on GitHub.
Short and sweet as advertised. Now you can rest assured you won’t lose your data!